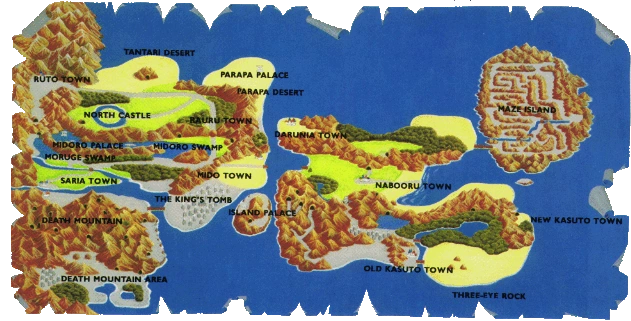
Template:Place Death Mountain is a recurring location in Template:LZS. It is a tall mountain that can be found in Hyrule, the Dark World, and Lorule.
Features and Overview
The Legend of Zelda
In The Legend of Zelda, Death Mountain is both the name of the final dungeon and the region located in northern Hyrule. It is a large sprawling expanse of rock covering the northern border of the map. The mountain range is usually home to some of the stronger enemies, such as Lynels, who are said to be the guardians of the mountain. Occasionally, boulders will fall from the hills. The mountains also have a few streams and ponds that are home to River Zoras.
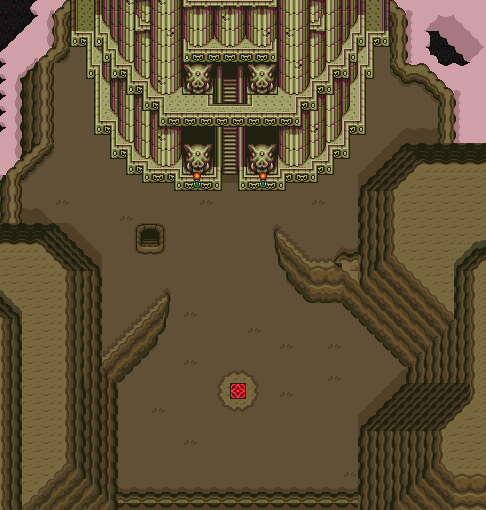
Death Mountain also has two distinctive landmarks. The first being Lost Hills, a mountainous counterpart of the maze-like Lost Woods. Beyond this maze is the fifth dungeon, Lizard, in the first quest. The mountain also has Spectacle Rock, in which Ganon keeps his hideout, simply referred to as Death Mountain. This dungeon is a huge labyrinth found underneath the mountain itself. It is one of the largest dungeons in the series and is filled with lava pools and a large number of enemies such as Lanmola and Wizzrobes. It is also where the Silver Arrows are found and where Ganon makes his final stand. Princess Zelda is held captive deep in the dungeon.
The Adventure of Link
In The Adventure of Link, Death Mountain can be found south of Western Hyrule. This area, located south of the Water Town of Saria, is comprised of many different tunnels that house many enemies, such as Dairas, several of which lead to dead ends if the wrong paths are taken. A few tunnels also have pools of lava, usually with a bridge suspended above them. Only a few paths lead to the southern region of Hyrule, where Link can find the Hammer hidden in a cave beneath Spectacle Rock.
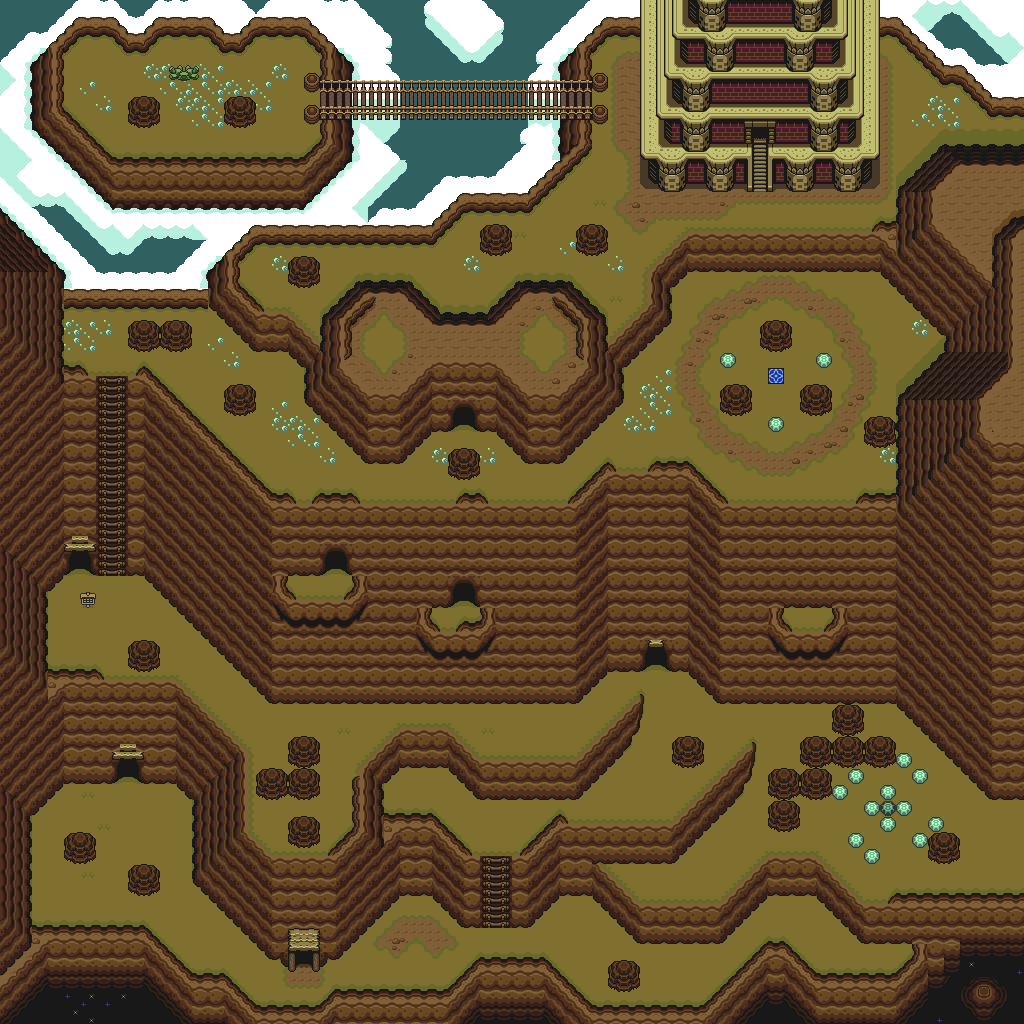
A Link to the Past
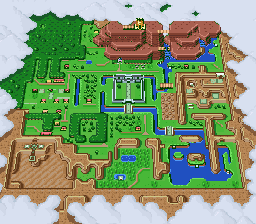
In A Link to the Past, Death Mountain can be found on the northern border of Hyrule. It is home to many Deadrocks and numerous caves filled with Keese and Mini-Moldorms among other enemies. At the very peak of mountain, the Tower of Hera can be found beyond Spectacle Rock. Without traveling to the Dark World, Link cannot scale this peak to reach the dungeon and the final Pendant of Virtue. Here, the hero also meets the Lost Old Man, and by saving him, he is able to start the game from his hideout in the Mountain Cave. Death Mountain is covered by constantly tumbling boulders.
Its Dark World counterpart is home to Turtle Rock and Ganon's Tower, found where the Tower of Hera is in the Light World. Ganon's Tower itself is guarded by Lynels. The Dark World counterpart is volcanic, with rocks constantly dripping with magma. The Cane of Byrna can also be found hidden in its caves.
Ocarina of Time
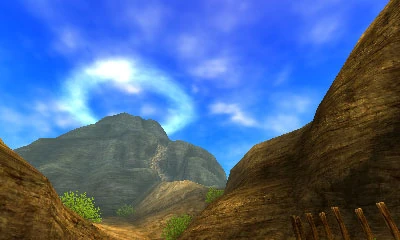

Death Mountain in Ocarina of Time 3D
In Ocarina of Time, Death Mountain is home to the Gorons, a peaceful race who eat rocks and are exceptionally good at forging blades,[1] among them, Biggoron who lives on the mountain itself. It can only be reached via a gate in Kakariko Village. Anyone wishing to travel up to Death Mountain needs the King's permission.[2] It is said that the state of the mountain is reflected by the clouds surrounding the peak: if they look normal, then Death Mountain is at peace.[3]
Death Mountain Trail
In order to reach the upper part of Death Mountain and the Goron City itself, Link must travel through the Death Mountain Trail, which is filled with Tektites and giant boulders. However, the path to the Death Mountain Trail is initially closed off and will not open until Link shows Zelda's Letter to the Soldier guarding the gate.[4][5]
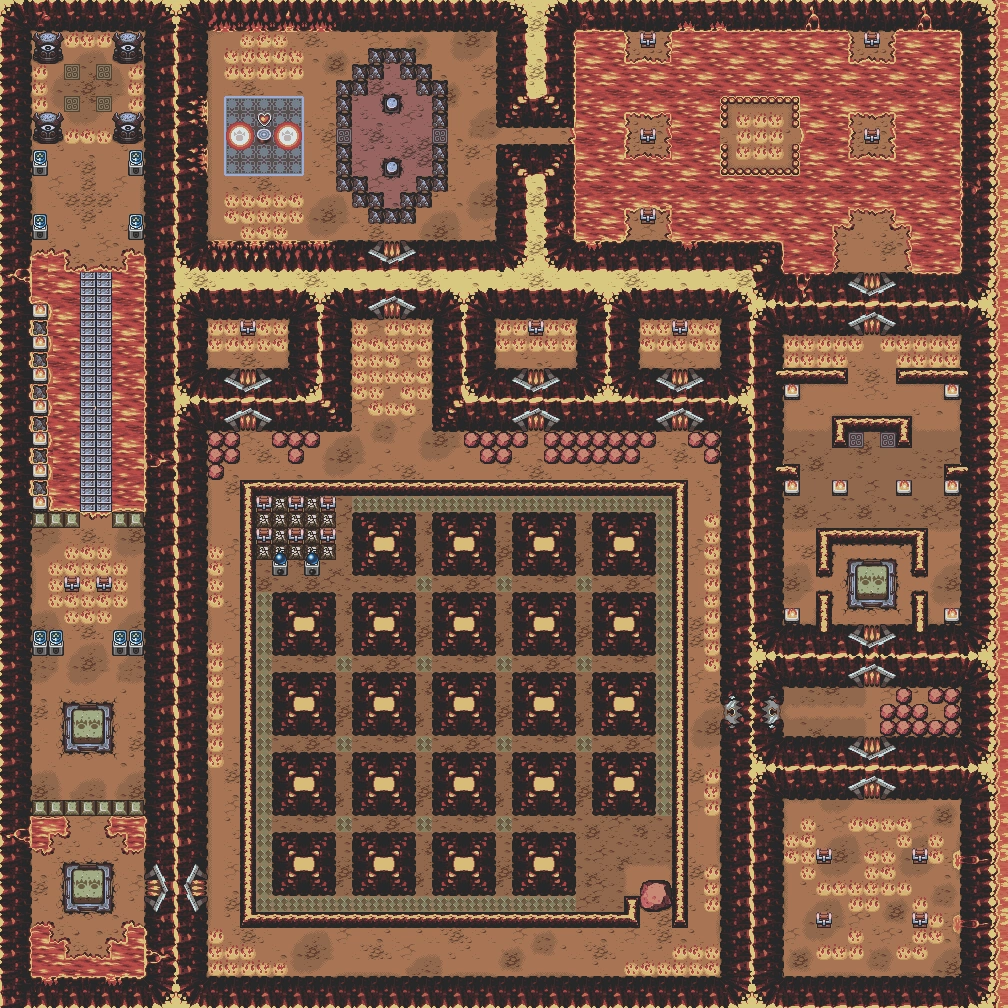
Death Mountain Trail takes Link to all of the prominent locations of Death Mountain. It is home to Dodongo's Cavern, where child Link faces King Dodongo, eventually receiving the Goron's Ruby in the process. By scaling up the trail, Link can arrive to the home of the Gorons. Death Mountain Crater, the inner part of the volcano of Death Mountain and the location of the Fire Temple, can be accessed either via Goron City or by climbing up the mountain through the Death Mountain Trail.
The Death Mountain Trail in Ocarina of Time
Atop the mountain trail is a Great Fairy Fountain where the Great Fairy of Power living within grants Link the Magic Meter and the Spin Attack.[6] Another Great Fairy Fountain is found inside the crater, which doubles Link's Magic Meter.
During the past, Death Mountain is an active volcano.[7] Any time Link approaches the northernmost part of the mountain in an attempt to climb it up to the crater, the volcano will activate itself. As such, Link must equip himself with the Hylian Shield in order to safely climb it. Biggoron, the giant Goron involved in the Biggoron's Sword sidequest, resides behind the mountain next to the crater entrance, although since he is always rolled up, Link cannot see him until he approaches him. Kaepora Gaebora can also be found top the highest point of the trail near the Great Fairy Fountain entrance. where he offers Link a ride down to Kakariko Village.[8]
After Link withdraws the Master Sword from the Pedestal of Time, Ganondorf revives the ancient dragon Volvagia and stirs up trouble at the depths of the crater, causing Death Mountain's white clouds to turn into red, fiery ones.[9] It is not until Link defeats Volvagia that Death Mountain returns to normal and the volcano stops its spontaneous eruptions, allowing him to safely scale up the mountain.
Four Swords
In Four Swords, Death Mountain appears as one of the four initial stages. By clearing the stage and defeating the boss, the Links receive a Great Key from the Great Fairy. The key received depends on how many Rupees were collected. The boss of Death Mountain is a flame monster called Gouen, and the symbol is the Fire Element.
Four Swords Adventures
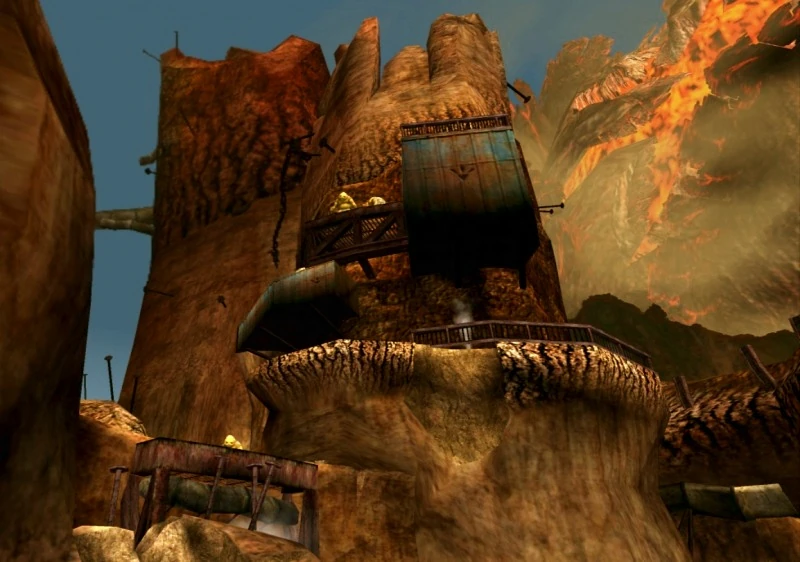
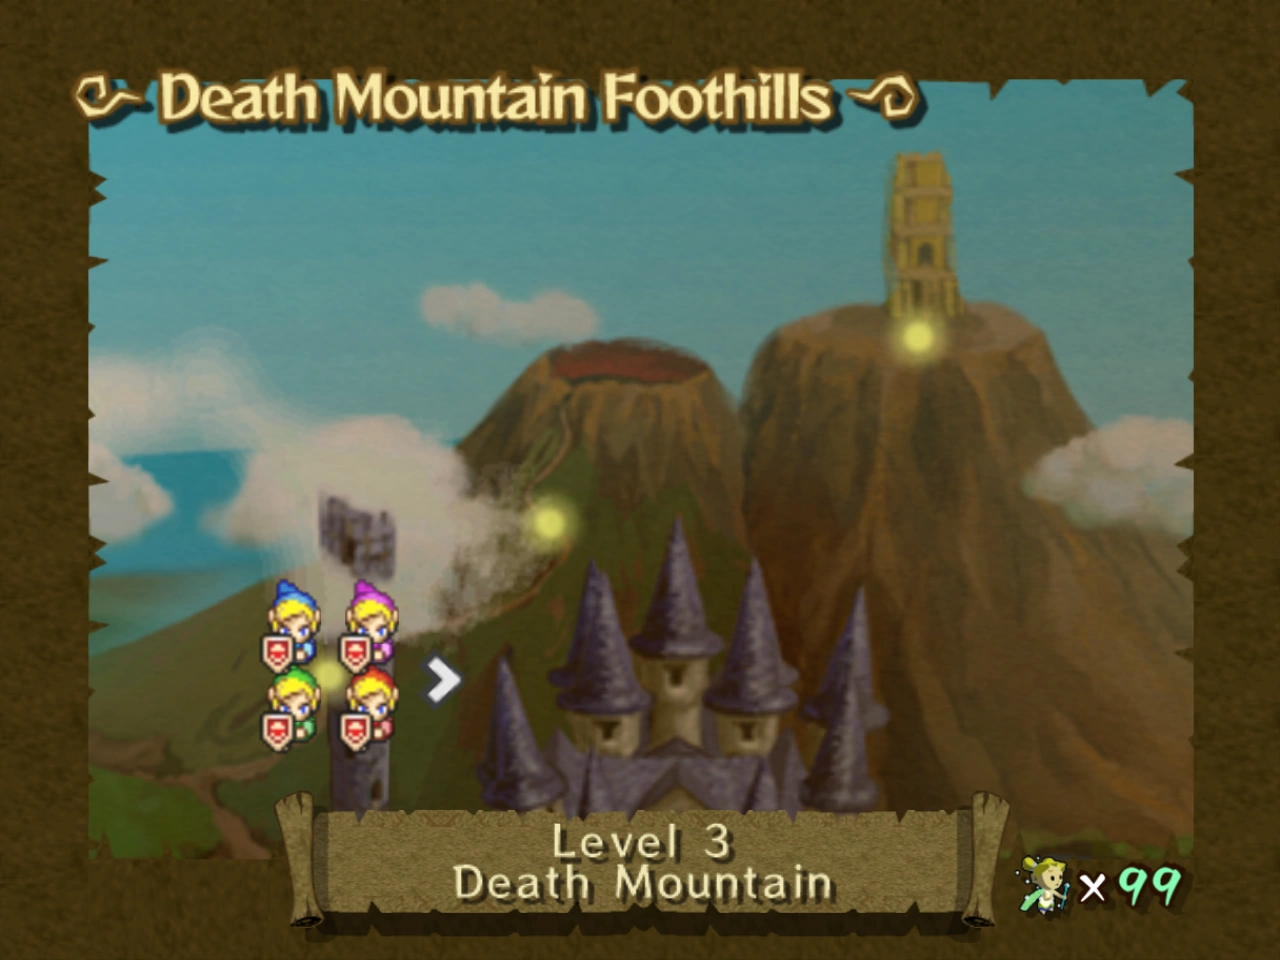
In Four Swords Adventures, Death Mountain appears as an area of Hyrule and as the third Level. It consists of three Stages: Death Mountain Foothills, The Mountain Path, and Tower of Flames.
Twilight Princess

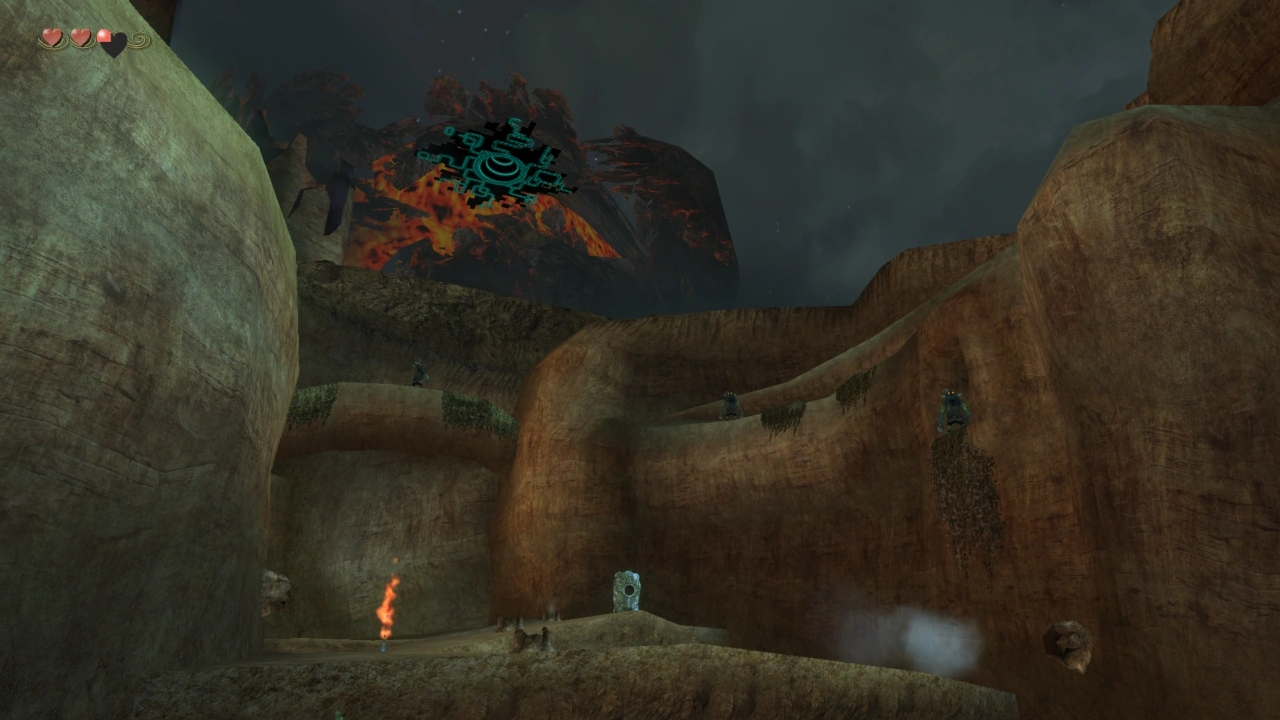
Death Mountain in Twilight Princess
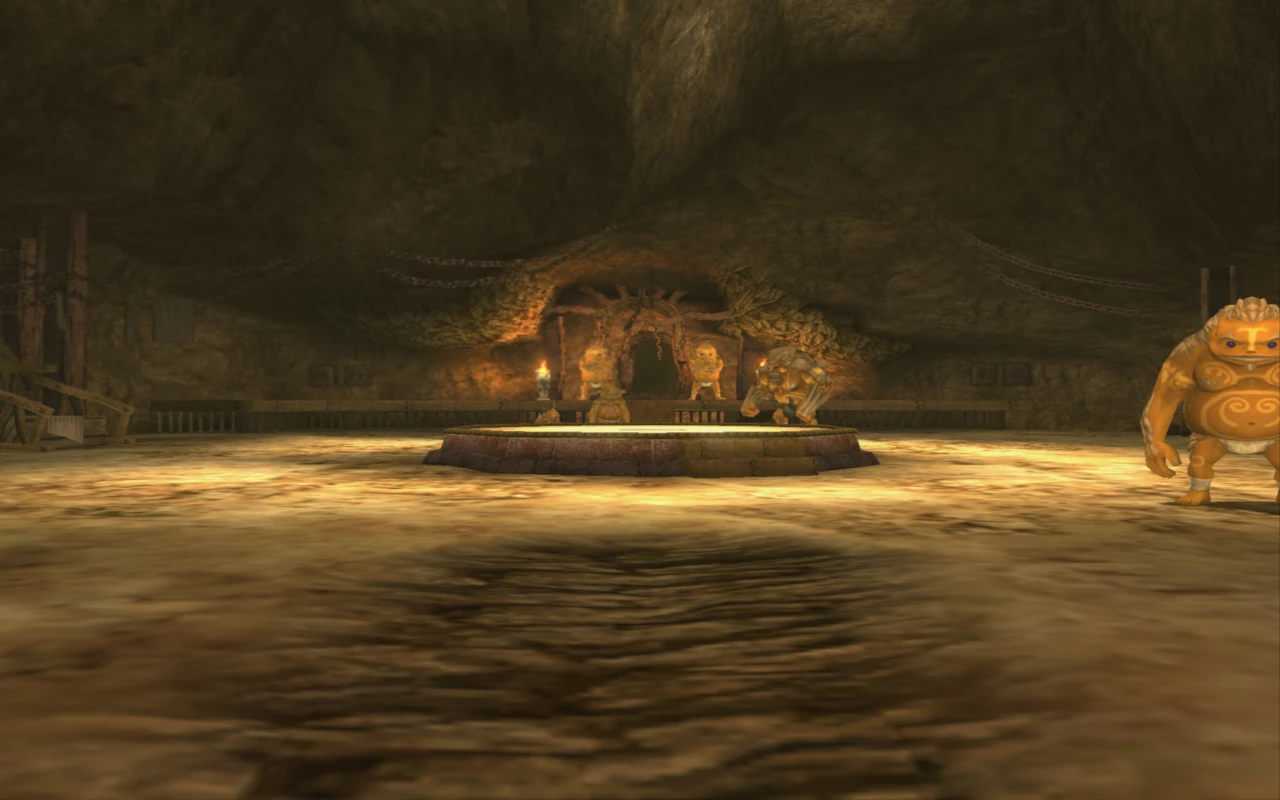
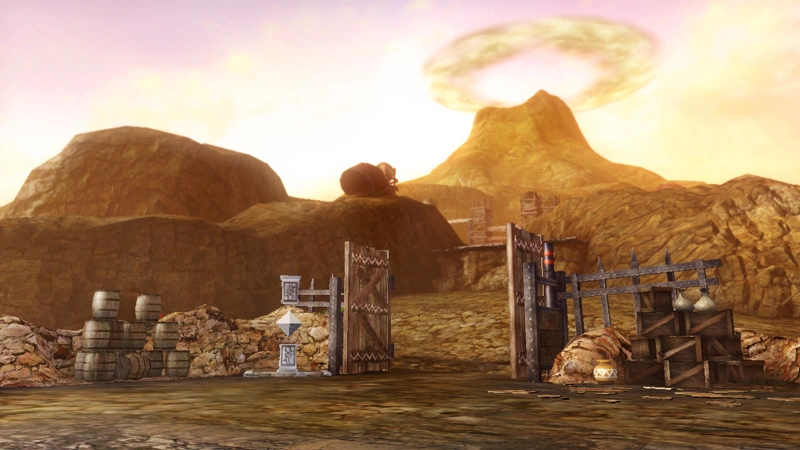
In Twilight Princess, Death Mountain is also home to the Goron tribe. Due to its volcanic nature, the mountain also boasts steam jets and mineral-rich Hot Springs. Death Mountain experiences frequent eruptions early on in the game due to events related to the Twilight.
Sticking to the Gorons' reputation as skilled metal smiths, metal structures have been erected around the face of the mountain to provide access to areas which are otherwise unreachable. The Gorons themselves can give each other and Link a leg-up to unscalable surfaces. The Gorons also have a mine inside the volcanic interior of the mountain, where materials are mined and transported with the assistance of magnetic cranes. The mine is also home to Torch Slugs and Dodongos.
When Link first tries to climb up Death Mountain, the Gorons attack him upon sight due to an order from the Goron Elder, Gor Coron.[10] To be able to successfully get through the mountain, Link must use the Iron Boots to avoid being knocked down by the Gorons' roll attack and thus be able to stop them on their tracks. Link eventually reaches the main area of Death Mountain, where a giant rock from the mountain's volcano falls. After successfully evading the Gorons and using them to launch himself higher up into the mountains, Link enters the Gorons' home. There, he is informed by Gor Coron that he will not allow him to enter the Goron Mines, which are sacred to the Gorons, unless he beats him in a match of sumo.[11] Successfully defeating the Goron Elder allows Link to enter the mines and obtain the second Fused Shadow, saving Darbus and obtaining the Gorons' respect along the way.
A Link Between Worlds
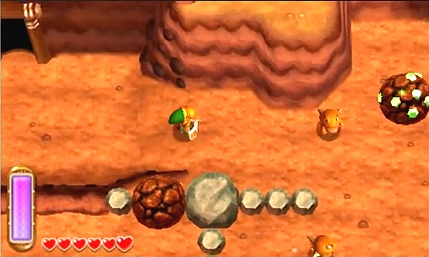

Link scaling Death Mountain in A Link Between Worlds
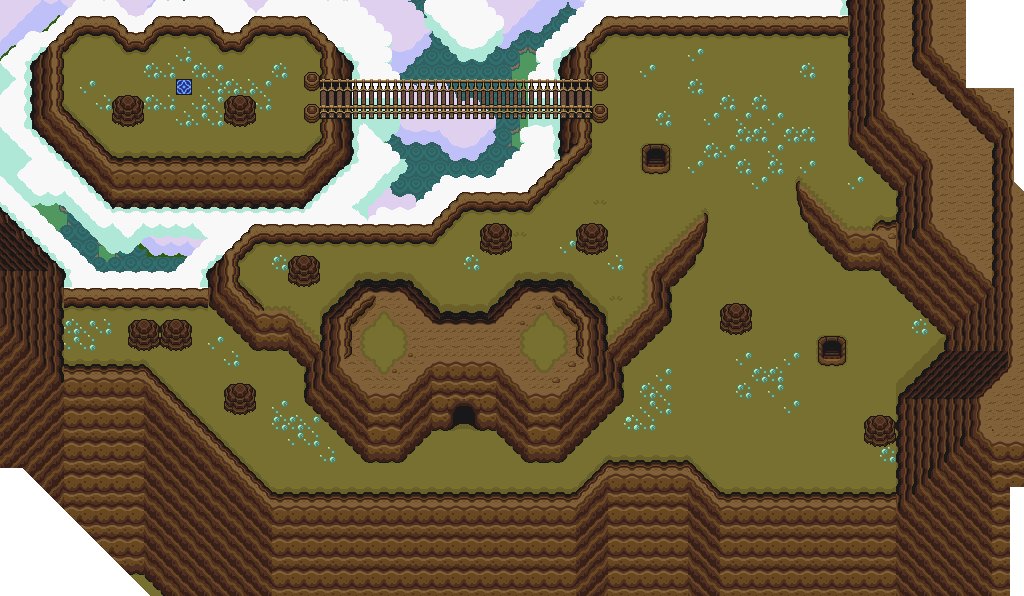
In A Link Between Worlds, the volcano upon Death Mountain, Spectacle Rock, is active, which causes boulders to fall across the lower areas of the mountain. Spectacle Rock is now near the Tower of Hera. As the Dark World is not present in A Link Between Worlds, going through it is not necessary to reach the Tower of Hera. The cave system on the eastern side of Death Mountain is complex, containing several moving platforms that Link must fall on in order to reach the exits. One of the exits leads to Rosso's Ore Mine, which contains a portal to Lorule.
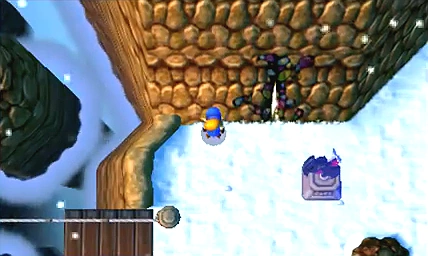
Lorule has its own Death Mountain that is not an active volcano. It is covered in snow, thus many of the enemies adapted ice-themed powers. The cave system of Lorule's Death Mountain contains similar jumping puzzles in the eastern section. This version is split in half, with one half containing the Treacherous Tower, and the other half containing the Ice Ruins.
Other Appearances
Ancient Stone Tablets
Template:Sectstub
Link's Crossbow Training
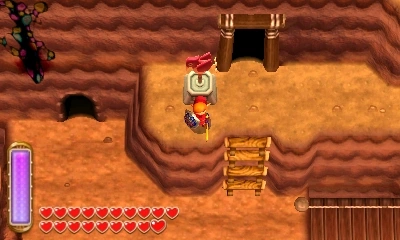
In Link's Crossbow Training, Death Mountain appears in Stage 2 as the Goron Target Practice. The central area of the Goron's lair is the first two screens of the stage. There, Gorons stand in various formations, roll in place, then spring up with either regular, gold, or false targets. The screen changes every 20 seconds, all with different formations of Gorons.
A Link to the Past Comic
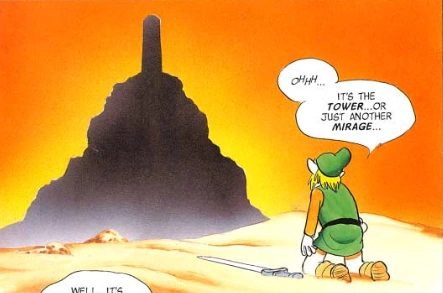

Death Mountain in the A Link to the Past comic
In the A Link to the Past comic, Death Mountain is on the borders of the Desert of Mystery.
While in the Desert of Mystery, Link is guided by Sahasrahla's telepathy to Death Mountain.[12] Link arrives to the mountain and stumbles upon a portal, which activates itself and shows a vision of two people standing with his uncle.[13] Believing them to be his parents,[14] Link reaches for his mother's hand when she extends hers out to the him, but Link's hand turns into a claw when it passes the portal's boundary. Sahasrahla warns that the power of the Dark World turns the inhabitants into a reflection of their heart, and Link's hatred of Agahnim would turn him into a beast if he were to enter.[15] Shortly afterwards, Zelda appears to Link and explains that they are in a dream, for if two people dream the same thing, they will meet.[16] After waking up from the dream, Link finds himself standing in front of the Tower of Hera, where he eventually retrieves the Pendant of Wisdom from Moldorm.
Ocarina of Time Manga
Template:Sectstub
Hyrule Warriors
In Hyrule Warriors, Death Mountain appears as a stage part of Impa and Sheik's quest. Here, they must fight against the Gorons and their chieftain, Darunia, who is being controlled by Cia's Dark Forces.
Trivia
- In Freshly-Picked Tingle's Rosy Rupeeland, a mountain called Mount Desma might be a reference to Death Mountain, as it is written that Mount Desma is "the Mountain of Death" in one of the Yamatami tribe's ancient books. Comparison of the Japanese names further suggests this. "Yama" is the Japanese word for "mountain," whereas "Desuma" differs only one Japanese letter from "Desu," or death.
Etymology
In the Japanese version of A Link to the Past, the mountain is only named Death Mountain in the Dark World. In the Light World, it is known as ヘブラ山 (Mount Hebra), although it is seemingly considered the same location under a different name.
| Language | Name | Meaning | |
|---|---|---|---|
| Japanese | デスマウンテン (Desu Maunten) ヘブラ山 (Hebura Yama) Template:ExpGame |
Death Mountain Mount Hebra | |
| FrenchCA | Mont de la Mort | Mount of Death | |
| FrenchEU | Montagne de la Mort Mont du Péril Template:ExpGame Mont Hébra Template:ExpGame |
Mountain of Death Mount of Peril Mount Hebra | |
| German | Todesberg | Death Mountain | |
| Italian | Monte Morte | ||
| Spanish | Montaña de la Muerte | Mountain of Death | |
Gallery

Death Mountain in A Link to the Past

Death Mountain in Ocarina of Time

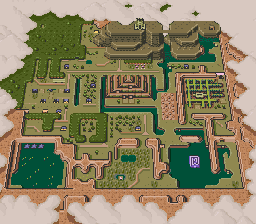
Death Mountain map from Four Swords

Death Mountain in Four Swords Adventures
The Gorons' home in Death Mountain in Twilight Princess
The trail leading up Death Mountain in Twilight Princess HD
Hyrule's Death Mountain in A Link Between Worlds
Lorule's Death Mountain in A Link Between Worlds
Death Mountain in Ancient Stone Tablets
Ganon's Tower in Death Mountain in Ancient Stone Tablets'
- LCTGoron3Formation.jpg
Death Mountain in Link's Crossbow Training
- LCTGoron2Formation.jpg
Death Mountain in Link's Crossbow Training
Death Mountain in Link's Crossbow Training
- LCT Goron down.jpg
Death Mountain in Link's Crossbow Training
Death Mountain in Hyrule Warriors


.png)
References
- ↑ "I am one of the Gorons, the stone-eating people who live on Death Mountain." — Goron (Ocarina of Time)
- ↑ "Climb up the stairs at the north end of the village to find the trail that leads up Death Mountain. But you need the King's permission to actually go up the mountain." — Kakariko Village Soldier (Ocarina of Time)
- ↑ "It is said that the clouds surrounding this peak reflect the condition of Death Mountain. When they look normal, it is at peace." — Kaepora Gaebora (Ocarina of Time)
- ↑ "The road is closed beyond this point! Can't you read the sign over there?" — Death Mountain Trail Guard (Ocarina of Time)
- ↑ "What kind of funny game has our Princess come up with now?! OK, OK, all right. You can go now... Just be careful, Mr. Hero! Wah hah ha ha hah!" — Death Mountain Trail Guard (Ocarina of Time)
- ↑ "You should go see the Great Fairy on top of Death Mountain! She will power you up!" — Darunia (Ocarina of Time)
- ↑ "If you're going to climb Death Mountain, you should equip a proper shield! It is an active volcano, after all!" — Knight of Hyrule (Ocarina of Time)
- ↑ "I will perch here and wait for you. When you're ready to go back down, I can help you!" — Kaepora Gaebora (Ocarina of Time)
- ↑ "Ganondorf is causing trouble on Death Mountain again! He has revived the evil, ancient dragon Volvagia!" — Darunia (Ocarina of Time)
- ↑ "These lands ahead belong to the Goron tribe! The elder said no humans may pass!" — Goron (Twilight Princess)
- ↑ "The mines beyond here are sacred to my tribe. Outsiders are not allowed. Unless... I could make an exception...but you would have to beat me in a contest of power. Are you willing to try that, little human?" — Gor Coron (Twilight Princess)
- ↑ Template:Cite book
- ↑ Template:Cite book
- ↑ Template:Cite book
- ↑ Template:Cite book
- ↑ Template:Cite book
| Major locations in The Adventure of Link | |
|---|---|
 Click on a location | |
| Locations in A Link to the Past | |
|---|---|
| Locations in the Light World | Locations in the Dark World |
 Click on a location |
 Click on a location |
| Regions in Ocarina of Time | |
|---|---|
 Click on a location | |
| Hyrule in Twilight Princess | |
|---|---|
 | |
| Click on a location | |
Dungeons in The Legend of Zelda Series
Parapa Palace · Midoro Palace · Island Palace · Maze Island Palace
Palace on the Sea · Three-Eye Rock Palace ![]() · Great Palace
· Great Palace ![]()
Light World
Sewer Passageway · Eastern Palace · Desert Palace · Tower of Hera · Hyrule Castle Tower ![]()
Dark World
Palace of Darkness · Swamp Palace · Skull Woods · Thieves' Town · Ice Palace · Misery Mire · Turtle Rock · Ganon's Tower ![]()
Palace of the Four Sword![]()
Main Dungeons
Tail Cave · Bottle Grotto · Key Cavern · Angler's Tunnel · Catfish's Maw · Face Shrine · Eagle's Tower · Turtle Rock · Wind Fish's Egg ![]()
Mini-Dungeons
Moblin Cave · Kanalet Castle · Ancient Ruins
Optional Dungeons
Color Dungeon (LADX | LANS) · Chamber Dungeon (LANS)
Child Dungeons
Inside the Deku Tree · Dodongo's Cavern · Inside Jabu-Jabu's Belly
Adult Dungeons'
Forest Temple · Fire Temple · Water Temple · Shadow Temple · Spirit Temple · Ganon's Castle ![]()
Mini-Dungeons
Main Dungeons
Woodfall Temple · Snowhead Temple · Great Bay Temple · Stone Tower Temple
Mini-Dungeons
Swamp Spider House · Pirates' Fortress · Oceanside Spider House · Beneath the Well · Ancient Castle of Ikana
Moon Dungeons ![]()
Main Dungeons
Spirit's Grave · Wing Dungeon · Moonlit Grotto · Skull Dungeon · Crown Dungeon · Mermaid's Cave · Jabu-Jabu's Belly · Ancient Tomb · Black Tower (Turret) ![]() · Room of Rites(OoS | OoA)
· Room of Rites(OoS | OoA)
Mini-Dungeons
Maku Road · Great Moblin's Keep · Ambi's Palace · Black Tower (Rescue Zelda) ![]() · Hero's Cave
· Hero's Cave![]()
Main Dungeons
Gnarled Root Dungeon · Snake's Remains · Poison Moth's Lair · Dancing Dragon Dungeon · Unicorn's Cave · Ancient Ruins · Explorer's Crypt · Sword & Shield Maze · Onox's Castle ![]() · Room of Rites(OoS | OoA)
· Room of Rites(OoS | OoA)
Mini-Dungeons
Chambers of Insight · Sea of Trees · Talus Cave · Death Mountain · Vaati's Palace ![]()
Anniversary Edition
Main Dungeons
Forsaken Fortress · Dragon Roost Cavern · Forbidden Woods · Tower of the Gods
Earth Temple · Wind Temple · Ganon's Tower
Mini-Dungeons
Whereabouts of the Wind — Lake Hylia · Cave of No Return · Hyrule Castle
Eastern Hyrule — The Coast · Village of the Blue Maiden · Eastern Temple
Death Mountain — Death Mountain Foothills · The Mountain Path · Tower of Flames
Near the Fields — The Field · The Swamp · Infiltration of Hyrule Castle
The Dark World — Lost Woods · Kakariko Village · Temple of Darkness
Desert of Doubt — Desert of Doubt · Desert Temple · Pyramid
Frozen Hyrule — Frozen Hyrule · Temple of Ice · Tower of Winds
Realm of the Heavens — Realm of the Heavens · The Dark Cloud · Palace of Winds
Main Dungeons
Deepwood Shrine ![]() · Cave of Flames · Fortress of Winds · Temple of Droplets
· Cave of Flames · Fortress of Winds · Temple of Droplets ![]() · Palace of Winds · Dark Hyrule Castle
· Palace of Winds · Dark Hyrule Castle ![]()
Mini-Dungeons
Main Dungeons
Forest Temple · Goron Mines · Lakebed Temple · Arbiter's Grounds ![]() · Snowpeak Ruins
· Snowpeak Ruins
Temple of Time · City in the Sky · Palace of Twilight ![]() · Hyrule Castle
· Hyrule Castle
Mini-Dungeons
Lantern Caverns · Cave of Ordeals · Cave of Shadows (TPHD)
Dungeons
Temple of Fire · Temple of Wind · Temple of Courage · Ghost Ship · Goron Temple · Temple of Ice · Mutoh's Temple
Master Dungeon
Dungeons
Forest Temple · Snow Temple · Ocean Temple · Fire Temple · Sand Temple
Master Dungeon
Mini-Dungeon
Lost at Sea Station · Tunnel to the Tower · Take 'Em All On!![]()
Main Dungeons
Skyview Temple · Earth Temple · Lanayru Mining Facility · Ancient Cistern · Sandship · Fire Sanctuary · Sky Keep
Mini-Dungeons
Hyrule
Eastern Palace · Tower of Hera · House of Gales · Inside Hyrule Castle ![]()
Desert Palace ![]()
Lorule
Ice Ruins · Swamp Palace · Thieves' Hideout · Dark Palace
Skull Woods · Turtle Rock · Lorule Castle ![]()
Woodlands — Deku Forest · Buzz Blob Cave · Moblin Base · Forest Temple
Riverside — Secret Fortress · Abyss of Agony · Cove of Transition · Water Temple
Volcano — Blazing Trail · Hinox Mine · Den of Flames · Fire Temple
Ice Cavern — Frozen Plateau · Snowball Ravine · Silver Shrine · Ice Temple
Fortress — Sealed Gateway · Bomb Storage · Training Ground · The Lady's Lair
The Dunes — Infinity Dunes · Stone Corridors · Gibdo Mausoleum · Desert Temple
The Ruins — Illusory Mansion · Palace Noir · Lone Labyrinth · Grim Temple
Sky Realm — Floating Garden · Deception Castle · Dragon Citadel · Sky Temple
Forest Zone · Flooded Zone · Scorching Zone · Frozen Zone · Fortified Zone · Desert Zone · Shadow Zone · Baneful Zone
Main Dungeons
Divine Beast Vah Ruta · Divine Beast Vah Rudania · Divine Beast Vah Medoh · Divine Beast Vah Naboris · Hyrule Castle · Final Trial![]() (TCB)
(TCB)
Mini-Dungeons
Trial of the Sword (TMT ) · Yiga Clan Hideout
Ancient Shrines
Akh Va'quot ·
Bosh Kala ·
Chaas Qeta ·
Daag Chokah ·
Dagah Keek ·
Dah Kaso ·
Dah Hesho ·
Daka Tuss ·
Dako Tah ·
Daqa Koh ·
Daqo Chisay ·
Dila Maag ·
Dow Na'eh ·
Dunba Taag ·
Gee Ha'rah ·
Gorae Torr ·
Ha Dahamar ·
Hawa Koth ·
Hia Miu ·
Hila Rao ·
Ishto Soh ·
Ja Baij ·
Jee Noh ·
Jitan Sa'mi ·
Joloo Nah ·
Ka'o Makagh ·
Kaam Ya'tak ·
Kah Mael Shrine ·
Kah Okeo Shrine ·
Kah Yah Shrine ·
Kam Urog Shrine ·
Katah Chuki ·
Katosa Aug ·
Kay Noh ·
Kaya Wan ·
Kayra Mah ·
Ke'nai Shakah ·
Keeha Yoog ·
Keh Namut ·
Kema Kosassa ·
Kema Zoos ·
Keo Ruug ·
Ketoh Wawai ·
Korgu Chideh ·
Korsh O'hu ·
Kuh Takkar ·
Kuhn Sidajj ·
Lakna Rokee ·
Lanno Kooh ·
Maag Halan ·
Maag No'rah ·
Maka Rah ·
Mezza Lo ·
Mijah Rokee ·
Mirro Shaz ·
Misae Suma ·
Mo'a Keet ·
Mogg Latan ·
Monya Toma ·
Mozo Shenno ·
Muwo Jeem ·
Myahm Agana ·
Namika Ozz ·
Ne'ez Yohma ·
Noya Neha ·
Oman Au ·
Owa Daim ·
Pumaag Nitae ·
Qua Raym ·
Qaza Tokki ·
Qukah Nata ·
Raqa Zunzo ·
Ree Dahee ·
Rin Oyaa ·
Ritaag Zumo ·
Rok Uwog ·
Rona Kachta ·
Rota Ooh ·
Rucco Maag ·
Saas Ko'sah ·
Sah Dahaj ·
Sasa Kai ·
Sha Gehma ·
Sha Warvo ·
Shada Naw ·
Shae Katha ·
Shae Loya ·
Shae Mo'sah ·
Shai Utoh ·
Shai Yota ·
Shee Vaneer ·
Shee Venath ·
Sheem Dagoze ·
Sheh Rata ·
Sho Dantu ·
Shoda Sah ·
Shoqa Tatone ·
Shora Hah ·
Soh Kofi ·
Suma Sahma ·
Ta'loh Naeg ·
Tah Muhl ·
Tahno O'ah ·
Tawa Jinn ·
Tena Ko'sah ·
Tho Kayu ·
To Quomo ·
Toh Yahsa ·
Toto Sah ·
Tu Ka'loh ·
Tutsuwa Nima ·
Voo Lota ·
Wahgo Katta ·
Ya Naga ·
Yah Rin ·
Zalta Wa ·
Ze Kahso ·
Zuna Kai
Ancient Shrines (TCB)
Etsu Korima · Kamia Omuna · Kee Dafunia · Keive Tala · Kiah Toza · Kihiro Moh · Mah Eliya · Noe Rajee · Rinu Honika · Rohta Chigah · Ruvo Korbah · Sato Koda · Sharo Lun · Shira Gomar · Takama Shiri · Yowaka Ita
Main Dungeons
Wind Temple · Fire Temple · Water Temple · Lightning Temple · Hyrule Castle · Spirit Temple · Gloom's Lair
Level 1 — Ordon Target Practice · Gerudo Stalfos: Defender · Arbiter's Grounds: Ranger
Level 2 — Goron Target Practice · Zora River: Defender · Skull Shooting
Level 3 — Kakariko Target Practice · Fruit Balloons · The Great Bridge: Defender
Level 4 — Zora River Target Practice · Hyrule Castle: Defender · Skulltula Forest: Ranger
Level 5 — Oocca Target Practice · Gerudo Moldorm: Defender · The Shootout
Level 6 — Ordon Target Practice 2 · Bridge of Eldin: Defender · Snowpeak Ruins: Ranger
Level 7 — Underground Target Practice · City in the Sky: Defender · Temple of Time: Ranger
Level 8 — Horseback Target Practice · Snowpeak Ruins: Defender · Darknut Battle
Finale — Ranch Target Practice · Sacred Grove: Defender · Fossil Stallord Battle